An e-mail has been in the sphere for quite a long time and is serving its purpose well. In this digitally-infused era, everyone is more likely to have an email address.
So, one must know how to make an email address? In this article, we will tell you about the same. So, let’s get started:
How to make an email address?
Method 1: Using Gmail.
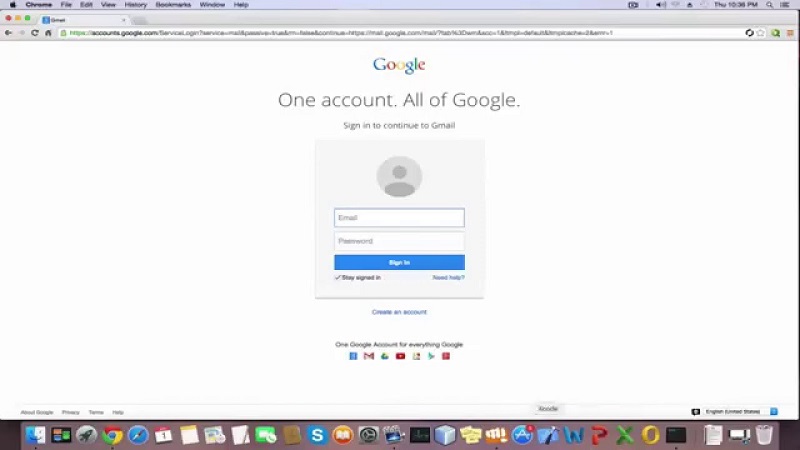
Step #1: As the very first step, you are required to visit www.gmail.com. You can easily do so by typing the address www.gmail.com in your browser’s address bar and then hit enter.
Alternatively, you can also type “Gmail” in the search field of your search engine and then you can land on Gmail.com via the relevant search results. If you are done with this, then you are good to go to the next steps.
Step #2: The previous step will take you to Gmail’s homepage. In this step, you have to locate for the “Create an account” link and once found then you need to click on it.
One thing to take note is that if an account is already logged in the system, then you can find the “Create an account” link by following the mentioned route. Manage accounts on this device -> Add account -> Create an account.
Step #3: Due to your recent activity, you will be redirected to a web page where you will be prompted to enter your details. The detail includes your first and last name, username, password, date of birth, gender, mobile number, and alternate email address (Optional).
Always makes sure that the password must be at least 8 characters long and the username which you have chosen must not be in use by someone else.
Once you are done with entering of these details, you need to type the system-generated captcha code and then select your location after that, you will also have to agree to their terms and conditions by clicking on the checkbox next to the corresponding text.
Now, after doing all the mentioned, all that you require is to click on the “next step” button, and this will take you to the next step.
Step #4: In this final step, you just have to click on “Continue to Gmail” and this will take you to your Gmail inbox, and you can now enjoy sending and receiving emails.
Method 2: Using Yahoo!

Step #1: In this very first step, you require visiting www.login.yahoo.com. This is exactly where the process of creating a Yahoo! Account will start from. You can also get to the login page from the main Yahoo! Website by clicking on the mail icon which is positioned at the top right corner.
Step #2: Now, you have to click on the “Create account” button which is located right below the “Sign in” button. This will redirect you to another web page where you will be prompted to enter your personal details like First name, last name, Yahoo username, password, mobile number, date of birth and gender.
The optional field includes recovery number and relationship. Recovery number is of great use and may come in handy if you forgot your login credentials.
Once you are done with all this, then you need to check the checkbox next to which I agree to Yahoo Terms and Privacy. Now, all that you require is to click on “Create an account.”
Step #3: This step requires entering the code for which you have just received your provided number. The moment you have entered the verification code and clicked on “Submit code”, you will be automatically taken to your Yahoo inbox.
Just in case if you cannot receive a text message on your provided mobile number, you can also receive an audio call from Yahoo, which will equip you with the code.
This way you just created a Yahoo! Email account and now you can enjoy your Yahoo! Email account.
Method 3: Using Outlook
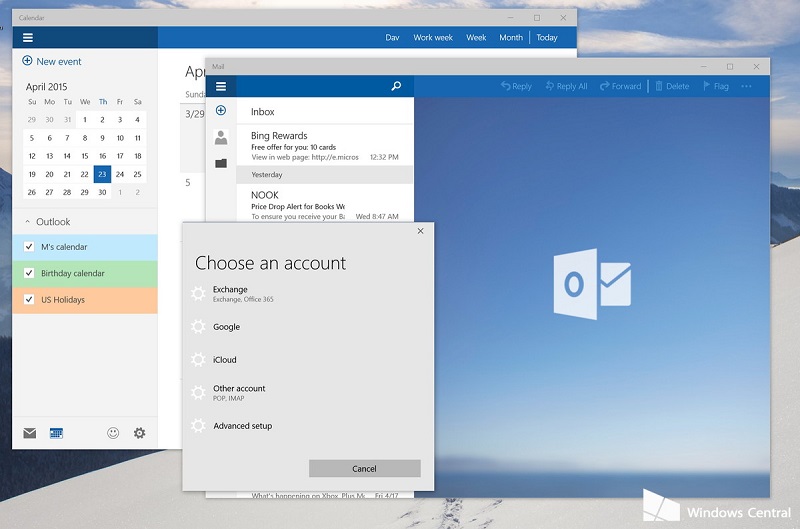
Outlook is a free email platform by Microsoft. Previously, it used to be popular by the name of Hotmail in 2013.
Step #1: Go to www.outlook.com. This is the starting point of our journey from where we will start the process of making an email account using Outlook. So, let’s get started by jumping to the next step.
Step #2: In this step, you have to locate the “Sign up now” link which is usually located at the bottom. Once you have located the same, you now require clicking on it.
This will take you to the account creation page where you will have to provide the necessary personal details like your first name, last name, location, date of birth, and gender along with your username and password.
Additionally, you will have to enter an alternate email address or a recovery phone number which can be used in case you forgot your login credentials. Just do this because it will add an extra layer of security to your Outlook account.
Now, as you proceed further, you will have to enter the captcha code and then all that you have to do is to click on the “Create account” button.
This will mark the processes as complete and within no time you will be redirected to your inbox which means that you can now enjoy the email service as you have just created an email account using Outlook.
Quick Links
Final words.
This final words section brings us to the end of this tutorial cum guide on “How to make an email address?” We hope that we were efficient enough to satisfy your curiosity about this topic.
We firmly believe that we have left no stone unturned while getting into the nitty-gritty of the topic and making you understand the entire concept of it.
But if you still have any queries regarding making an email address then feel free to drop your query via the comments below. We will try our level best to resolve that.
Moreover, if you found this article helpful and worthy, do show your love by sharing it socially.
Thank you for passing by and giving it a read.