Don’t you know it’s possible to broadcast yourself on YouTube? Most probably you don’t.
All of us know that YouTube is the video-sharing platform that allows us to upload and watch already uploaded videos. But it really lets you go on air with YouTube broadcast yourself feature.
Today, I am here with another tutorial in which you learn how to broadcast yourself live on YouTube. Are you ready to get started?
How to Stream on YouTube Live?
YouTube live broadcast feature is a savior for a lot of people. If you are an individual who hosts webinars or Q& A sessions, you definitely need this.
But like an uploading process, youtube.com broadcasting itself is not that simple to proceed with. But don’t worry. You will learn the complete process from this article.
Follow the steps I have listed down below:
Step 1: At first, go to youtube.com and sign in to your account. Even if you haven’t a YouTube account, your Gmail account credentials can be used here.
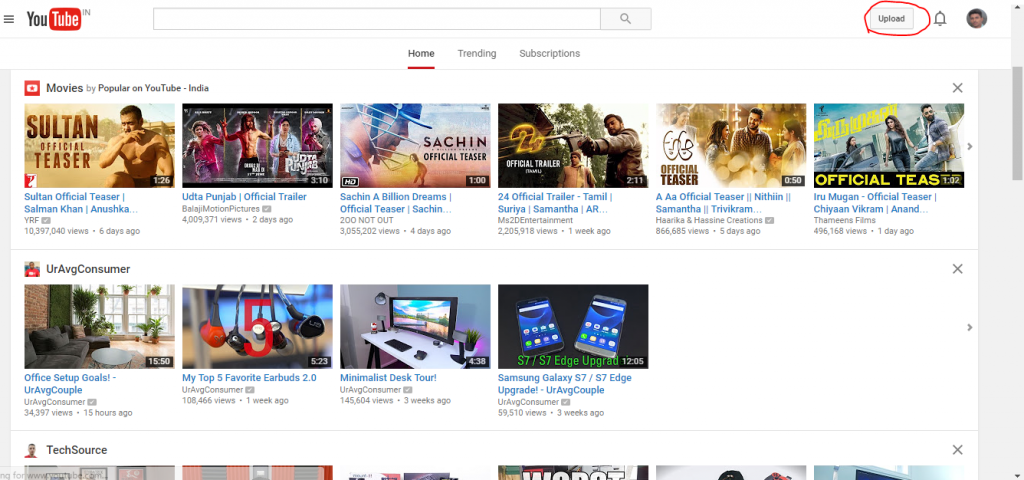
Step 2: Then, you will see an upload button on the top right portion of the screen. Click on it to go to the next page.
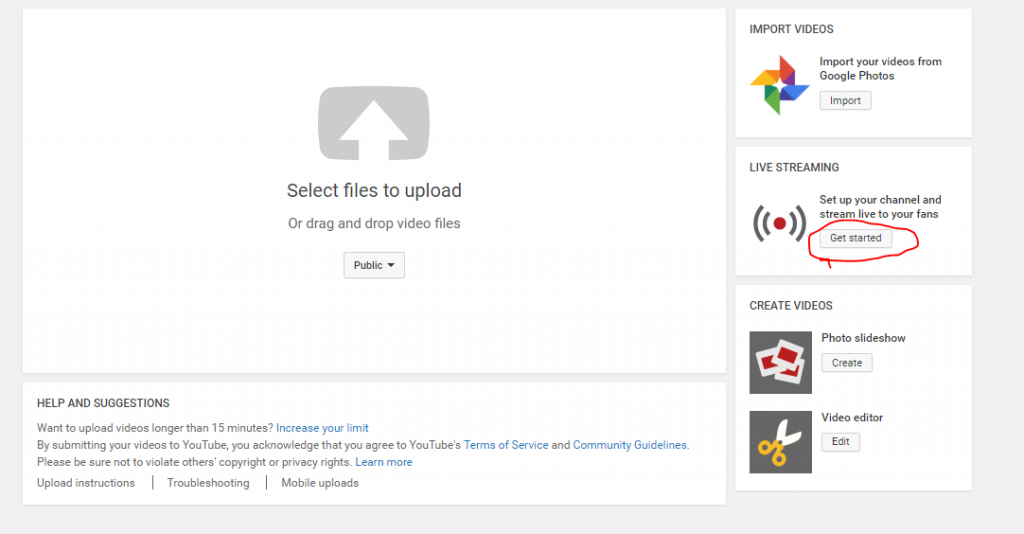
Step 3: Now, you can see a bunch of options. Don’t worry! All of them serve different purposes. As we are going to create a live broadcast session, you need to choose the one that says Get started under Live streaming.
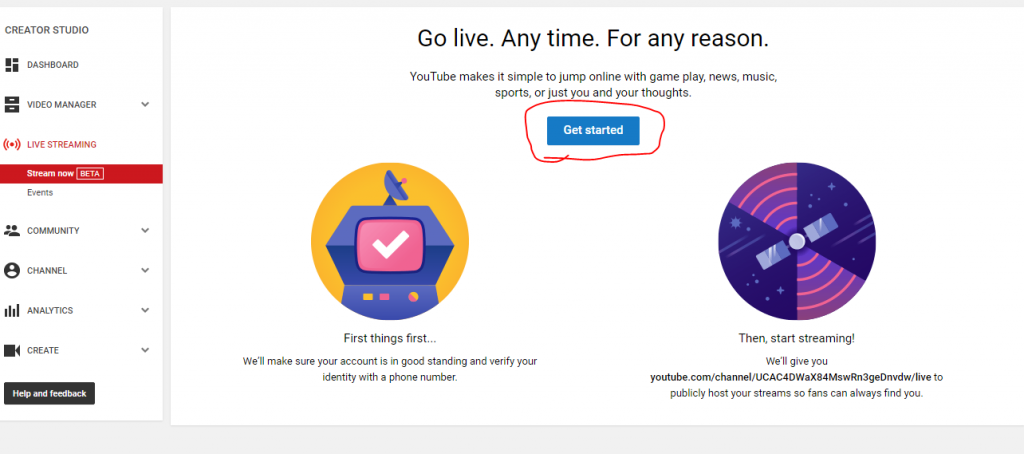
Step 4: On the next page, you don’t have to do anything. There also, you can see a blue get started button. As displayed on the screen, Google will provide you with a dedicated URL to host your live-streaming session so that, anyone can find you if he/ she has the link).
Step 5: In the next step, you should verify your account with your mobile number. Two options are there; automated voice call and text message. The field to insert a mobile number will only get opened after you choose a verification method.
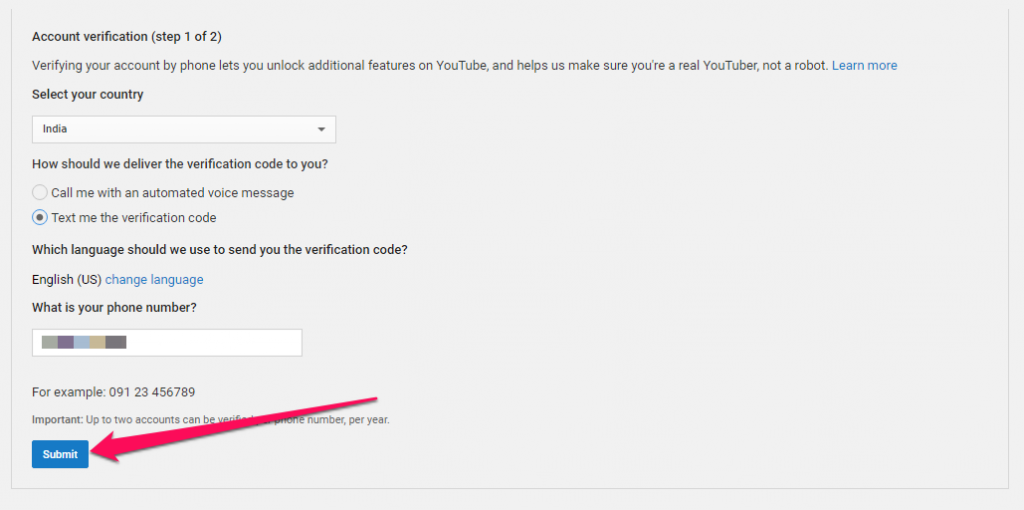
I have opted for the second option; that’s a text message. (Make sure the network signal is fair. At first, I couldn’t get the SMS in time due to network issues.)
Then, enter your mobile number into the popped downfield. Double-check the digits to confirm the number. And, click Submit.
Step 6: Most of the time, you will get the message at once. If you don’t get it, wait a bit. In case, any issues (like wrong phone number, network problem, etc.) occur, just click the back button of your browser and repeat the previous step.
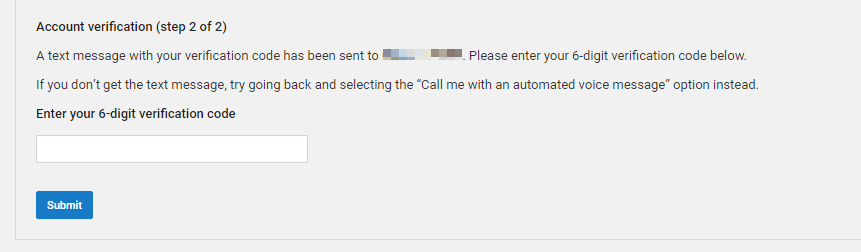
When you get the six-digit verification code, enter the same into the given field and then click Submit again.
Step 7: You will see a notification now that your YouTube account has been verified below which a Continue button is displayed. Use it without thinking twice.

Step 8: On the next screen, you will get Terms and Conditions for live streaming. I recommend reading the whole information even though it may make you yawned. Reading it completely will make you understand what to do and what not to do with YouTube broadcast yourself.
After reading the whole, click on the I Agree on a button.

Step 9: Now, you get Live stream’s default page. After you set up everything right, here is the place where you will see the live broadcasting.
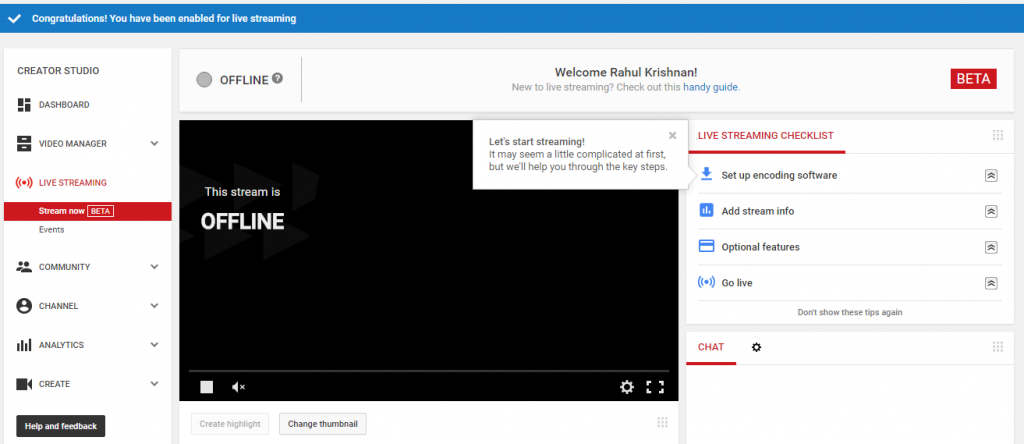
As you can see in the image, about four tasks are yet to be completed in order to start broadcasting.
The very first thing to do it here is to download encoder software. Click here to get more info on encoders and download links. You can get the same from the YouTube window as well.
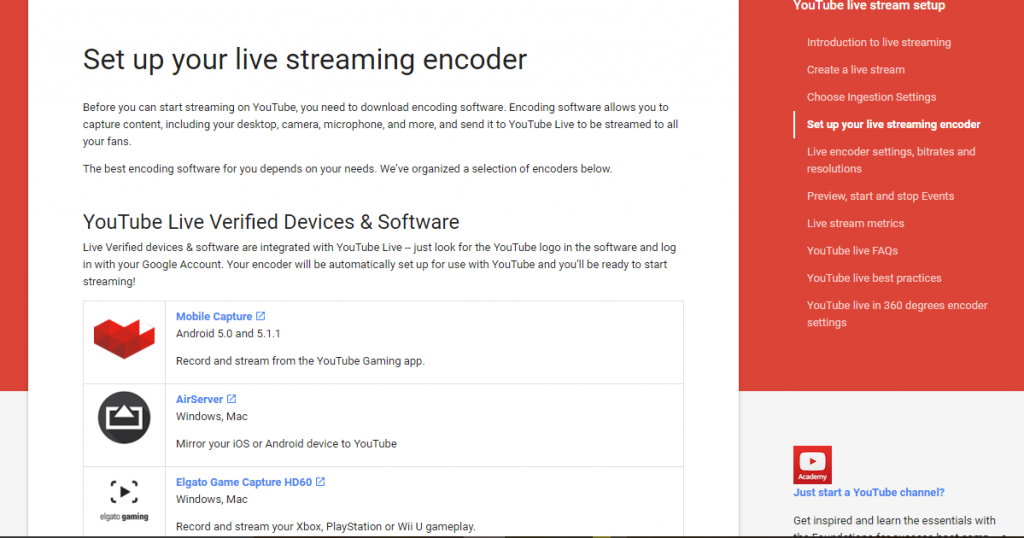
I like to go with Wirecast which you can download from that page. Download anyone from the list and install it.
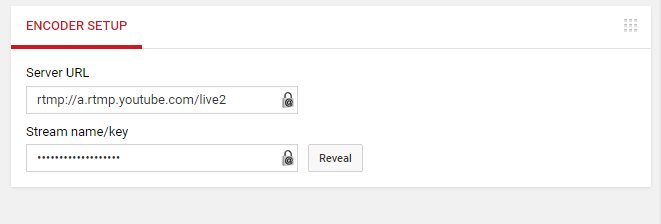
Step 10: If you scroll down the YouTube browser window, you can see a Server URL and Server Name/ key. Maybe the encoding software will ask for the same.
After the installation, open Wirecast (or any other one).
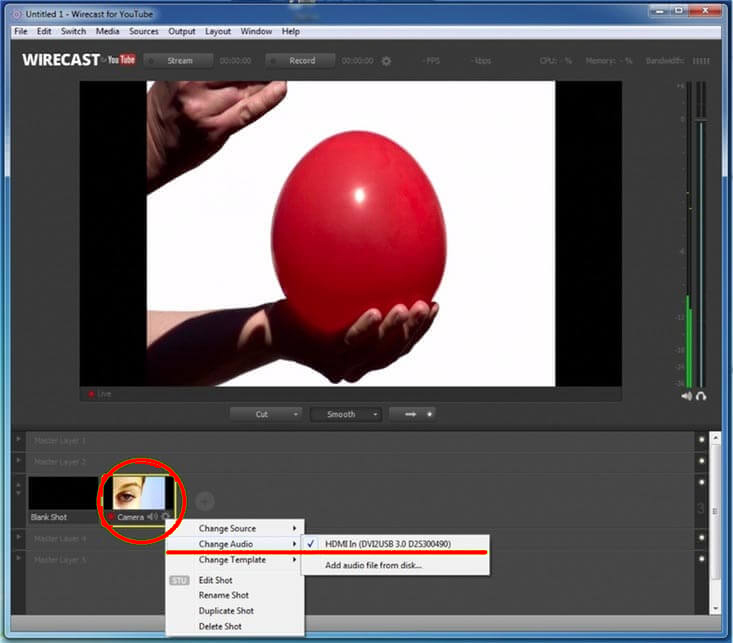
Step 11: Then, you have to select the video and audio source (don’t forget to set both things up).
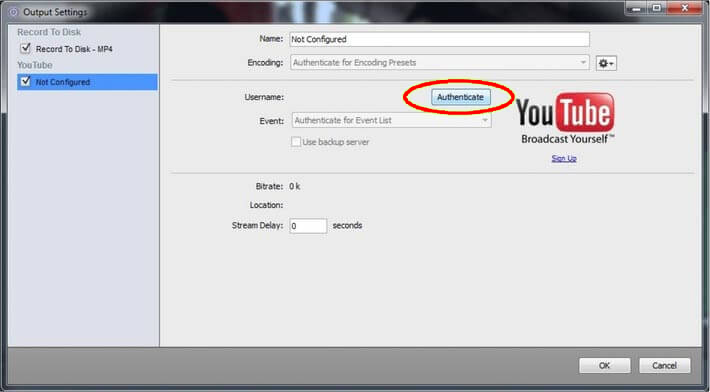
Step 12: The next step is to authenticate the connection between YouTube and Wirecast. For that go to Output>> Output settings and click Authenticate.
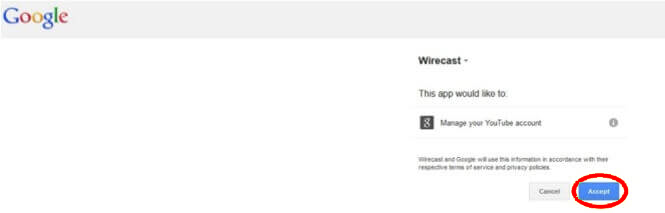
Step 13: It will open a new window to insert the user id and password of your YouTube account. Do it and then press Accept. You won’t have to enter the credentials if you are already signed in.
Step 14: Return to output settings and you will see the YouTube account has been linked to Wirecast. Press Ok.

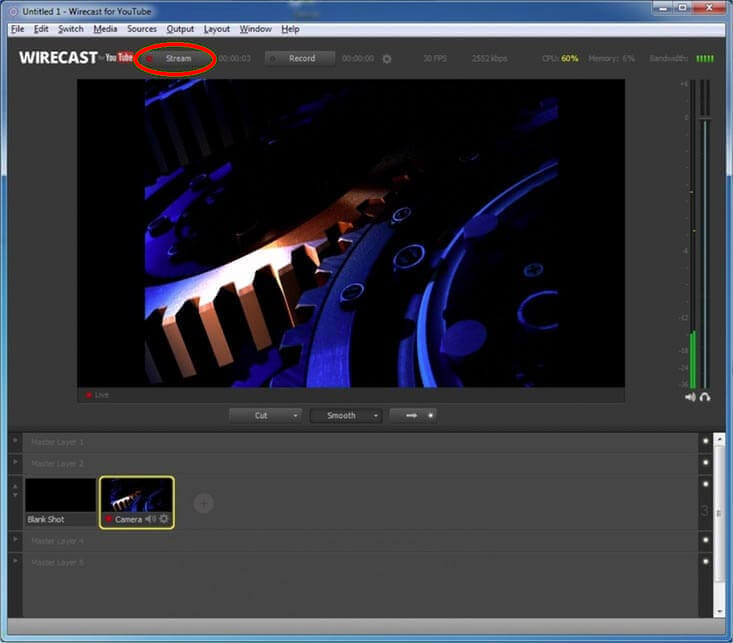
Step 15: Click the Stream button on the encoding software.
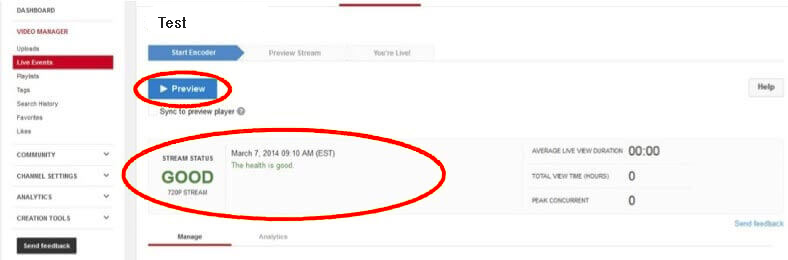
Step 16: Go back to YouTube and access the Live Control Room from the Live Events editing menu. There, you will see a good label and preview button. Try to preview it. If it works, you have done everything right.
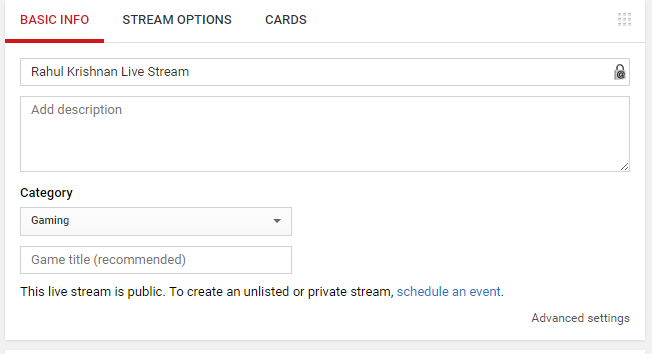
Step 17: Add title description etc. and set stream options to your choice if you want to.
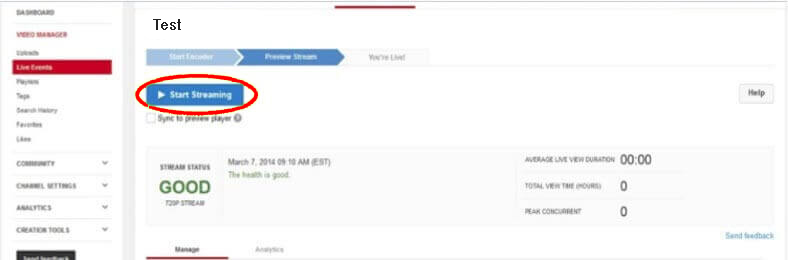
Step 18: Finally, click the blue Start streaming button for starting the live streaming.
Step 19: If you want to see your streaming as a user, you should click on View on the watch page.

Note: Here I used Wirecast for the demonstration. You can host your live streaming session with any of the verified encoders. The process of setting up will not be much different.
And, the streaming session will be uploaded automatically to your YouTube channel so that, your fans can watch it later.
Don’t you know how to broadcast yourself live on YouTube now?
Also Read: WebinarJam vs WebinarNinja Pricing Compared
Bottom Line
I know it’s a complicated task to broadcast yourself on YouTube. But once you set everything up, you won’t have to do everything the second time. After the first time, you only need to create an event, set capturing devices, open encoder and start streaming.
If you are looking forward to hosting a webinar or Q& A session, you will need this. So, bookmark this post for future needs.
Consider sharing this with your friends as well.